Wow. It’s been a loooong time. I’ve really been neglecting this blog, and I’m sorry about that! I hope some of you are still hanging in there with me! I do have a fairly good excuse for my absence this time: I’ve been busy growing a human!

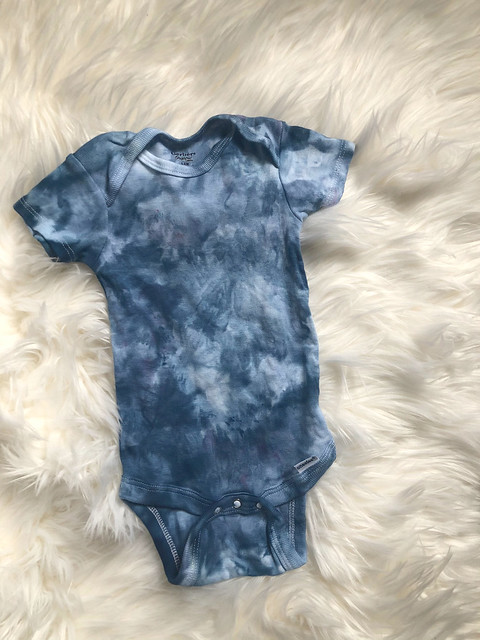
Look at that little thumb sucker!
I found out in late April that I was pregnant, and this little one zapped my energy (and my desire to eat or keep food down) for quite a while. Now we’re doing pretty good, cruising through the very end of the second trimester and prepping for his or her arrival in a few short months. In the meantime, though, I’ve done very little card making or crafting, and even my soapmaking ended up on the back burner. The good news now is that I’m feeling a little more energized and a lot less nauseous lately! So, I’ve started to do some little DIY projects here and there that I plan to start sharing here soon.
The first of the projects I want to share is an ice dyeing experiment I tried (and re-tried) last week.
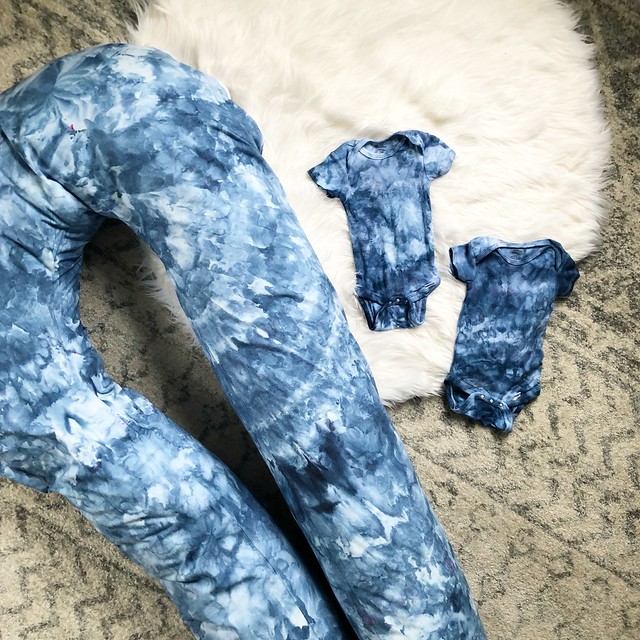
My friend gifted me a massive, amazing, pregnancy pillow (that I now can’t imagine living without) and the all-white pillowcase was screaming at me to do something with it. After some pinterest searching, I decided that I loved the look of Ice-dyed fabrics. They’re not in-your-face tie-dye. To me they seem a bit more subtle than that, and you end up with great results using minimal effort. The set it and forget it aspect really appealed to me.
Here’s how I did it:
Materials:
- white fabric
- soda ash (this is an optional ingredient, but I would recommend it. It helps your fabric to absorb the dye and is said to make colors more vibrant overall)
- ice
- fabric dye (after one failed attempt using indigo powder, I got smart and ordered this stuff, which worked fantastically)
- dish rack
- wash tub
- plastic gloves (important! I learned this the hard way…)
- spoon
Instructions:
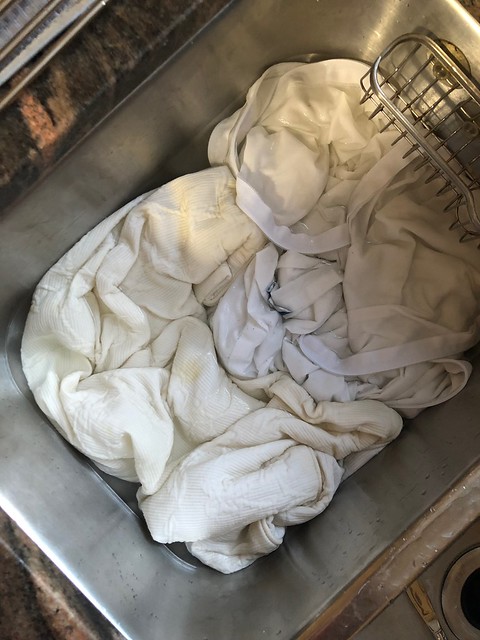
- Put your fabric(s) in your was tub (or sink) and soak according to soda ash package instructions. I soaked mine in a ratio of 1 cup soda ash to 1 gallon water for 15 minutes.
- When time is up, wring out all the extra moisture from your fabric(s), but do not rinse.
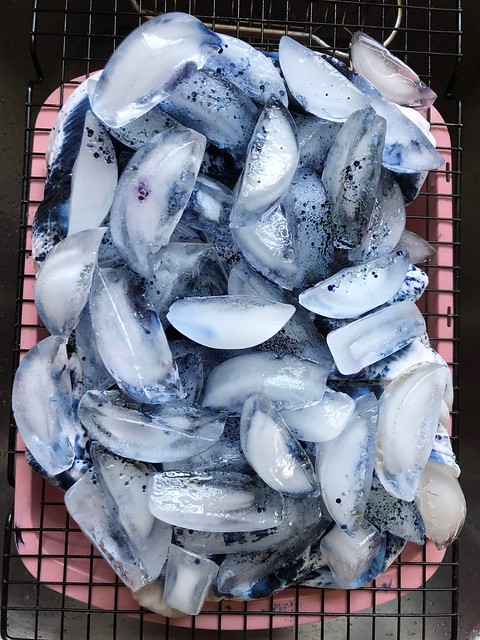
- Spread your damp fabric on top of your dish rack that sits atop your wash tub. Add some twists and turns here and there to give the end product a nice, interesting look. You could position your dish rack over your sink but I’d recommend doing it over a wash tub because you don’t want to stain your sink. As the ice melts, the water and dye will drip into your bin.
- Cover the fabric in lots of ice. Lots!
- Put your gloves on if you haven’t already.
- Using a spoon (metal is best), sprinkle your dye on top of the ice. If you want a less saturated look, use way less dye than I did. I went a little overboard, I think. Feel free to add lots of different colors here, too!
- Now you wait. Let the project sit for about 24 hours before you give it a good rinse with cold water until the water runs clear.
- Throw your fabric in the washer with detergent on a cold cycle and then send it through the dryer or hang to dry.
- All done! Enjoy your new colorful project!
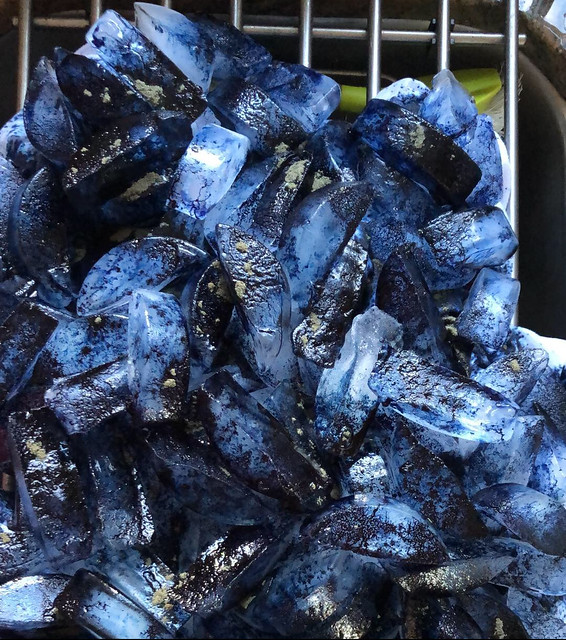
It’s so fun to watch the magic happen!
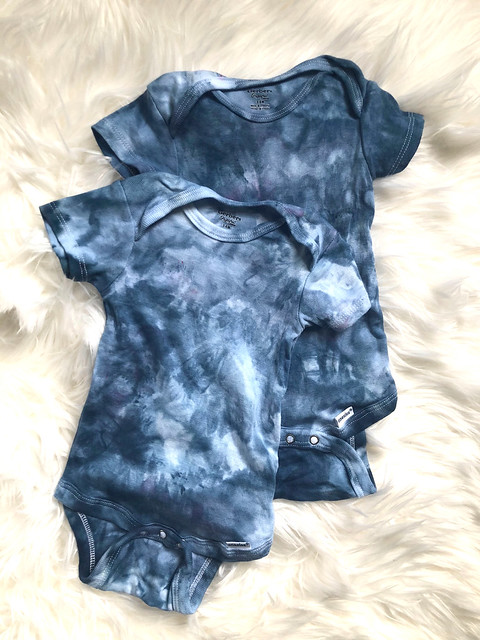
I have a few more onesies and some other colors of dye, so you know what I’ll be doing this weekend!
Let me know if you try this technique for dying fabrics. I’d love to see how your project turns out!